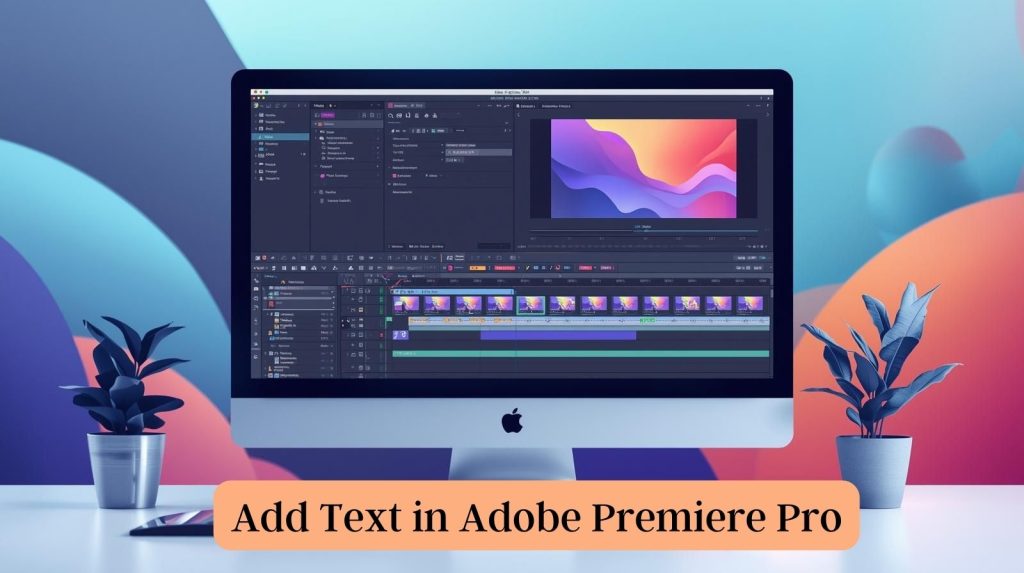
How to add text in Premiere Pro? Adding titles or captions to a video in Premiere Pro is relatively easy. Whether you’re trying to make a YouTube video, promotional clip, or short film stand out, text can do the trick if it’s done well. In this step-by-step guide, we show you how to add text in Adobe Premiere Pro and make it really good. Bally Sarnai is the creative brain behind this 800-word tutorial that aims to be beginner-friendly, with easy-to-follow steps and tips.
Also Read: How to Fix Adobe Illustrator Crash on Startup
Why Add Text in Adobe Premiere Pro?
There are many purposes for text in videos: it can introduce a speaker, show subtitles, or emphasize the points being made. Adding text to video with the best Adobe Premiere Pro software is a great tool that allows you to adjust the font, color, size, position, and also rotate. Through these, you can design interesting titles, captions, or lower-thirds as per your video’s look and feel.
Step 1: Getting Started in Adobe Premiere Pro
Before you can add text in Adobe Premiere Pro, it needs to be on a project so that you can use it.
- Open Adobe Premiere Pro: Open the software and either start a new project or continue with an existing one.
- Import your footage: From the menu, select File > Import and then select the video files you want to edit.
- Make a Sequence: Drag and drop your footage into the timeline, or use FILE > NEW > SEQUENCE to create a blank workspace.
Having your project ready before adding text takes the pain out of the workflow.
Step 2: Get the Text Tool
Adobe Premiere Pro has improved its text-handling options over the years, specifically with releases such as version 2023. In Adobe Premiere Pro, you use the Essential Graphics panel to create text layers.
- Open your Essential Graphics Panel: Go to Window > Essential Graphics. Here’s where you can type and style your text.
- Choose the Type Tool: To select the Type Tool from your toolbar, click and hold down on the T that is in your menu. Or, you can type directly within the Essential Graphics panel.
Step 3: Adding Text to Your Video
Next, let’s add some text in Adobe Premiere Pro to your timeline:
- Click in the Program Monitor: Select the Type Tool, which can be found on the toolbar, and click anywhere in your Program Monitor’s preview window to create a text box. Type your text, e.g., title or caption, here.
- Create text using Essential Graphics: Alternatively, click New Layer > Text in the Essential Graphics panel. This dumps a text layer into your timeline, which you can edit in the Program Monitor.
- Place Your Text: Click and drag your text for the Program Monitor to place it. Text: You can resize or rotate the text as desired by using the bounding box.
Pro Tip: After typing, you can use the Selection Tool (keyboard V) to reposition the text.
Step 4: Customizing Text Appearance
Make your text pop by using the Essential Graphics panel to stylize it:
- Change Font & Size: In the Essential Graphics panel, click on your text layer. From the dropdown menu, select a font (for instance, Arial, Helvetica, or one of your ‘real’ locally installed fonts). Change the font size to match your video resolution.
- Change Color and Style: Click the color box to select a text color. You can also choose to stroke, shadow, or fill the background for effect.
- Align Text: Align your text nicely with the alignment (left, center, right) you need.
To take just one example, if you’re doing a lower-third with somebody’s name on it, select something clean like the Roboto font and give it a little bit of background fill so people can read it easily.
Step 5: Animating Your Text
Flat copy is useful; animated copy draws eyes. Good news, you can Add Text in Adobe Premiere Pro!
- Access Keyframes: Locate the text layer’s properties in the Essential Graphics panel (For example, in the video below, it represents Source Text and Scale). Click on the stopwatch to enable keyframing.
- Build Animation: You can position the playhead and change properties. For example, you might begin with a 0% Opacity for a fade-in effect and then increase the Opacity to 100% after a few seconds.
- Embrace Presets: There are a bunch of Premiere Pro text effect presets that you can choose from. In the Essential Graphics panel, go to the Browse tab, choose a preset (e.g., “Slide In”), and apply it to your text layer.
You can add some dynamic text to your video with the help of animations for intros and transitions.
Step 6: Adding Text to Multiple Clips sentimental
If you want the same text on several scenes, it’s best to create a Title in step four and layer and tweak that one title as necessary. Here are some time-saving techniques if you need to add text in Adobe Premiere Pro to multiple clips.
- Create/Save Template: Save your styled text as a Motion Graphics Template. In the Essential Graphics panel, click on the three-dot menu and choose Export as Motion Graphics Template. Reuse this template across projects.
- Copy and Paste: Save the text layer in the timeline, select Ctrl+C or Cmd+C, then paste it on other clips by Ctrl+V or Cmd+V.
- Timing: Drag the edges of the text layer in your timeline to determine when it should be seen or unseen.
Step 7: Insert Subtitles or Titles
As a rule for accessibility or multilingual audiences, this requires subtitles. How to add text in Adobe Premiere Pro as captions:
- Create a Caption Track: Select File > New > Captions. Use a caption format such as SRT or SCC.
- Add Captions: In the Captions panel, click the + to add caption segments. Type out your text, setting in/out points to sync with the audio.
- Style Captions: Use the Essential Graphics panel to adjust text appearance, which is automatically adjustable based on the video background colour.
Step 8: Previewing and Exporting
Before we click OK, preview the video to make sure the text looks good:
- Real-Time Preview: Playback the timeline and see how the text displays, time, and animation.
- Customize: Adjust font size, location, or animation speed as desired.
- Export Your Video: File > Export > Media, select your format (H.264 for YouTube, say) and export.
Tips for Professional Text in Adobe Premiere Pro
- Keep It Simple: Utilize clean, readable fonts and do not overload the screen with excessive verbiage.
- Brand-matching: Match text color and style with your video theme or branding.
- Use Safe Margins: This will make sure your text doesn’t get cut off while viewing it on different screens.
- Test Across Devices: Test how your video looks on different devices to make certain text is easy to read.
Common Mistakes to Avoid
As you learn to Add Text in Adobe Premiere Pro, keep the following pitfalls in mind:
- Over-Using Animations: Overloading your pages with animations could distract visitors. For a professional appearance, go for subtitle animations.
- Low Contrast: Text should have a good contrast for better readability.
- Disregard the Timing: Text displayed for too short or too long a period can be disturbing to the viewer.
Conclusion
Knowing how to Add Text in Adobe Premiere Pro is a game-changer. You can add, change, or animate text your way in the new Essential Graphics panel just like you do with video. Caption title: Adobe Premiere Pro is a blank slate sort of tool for continuing your video’s story. Your go-to resource for these steps. For other styles, try out what fits best, and boom, you’re now adding professional-quality text with ease!
To get even more creative, you can look at Adobe’s official website tutorials or play around with Motion Graphics Templates. Start creating now, and get great-looking text with a professional font!
FAQ About Adding Text In Premiere Pro
How to add SUBTITLES and CAPTIONS in Adobe Premiere Pro CC
Use the Captions panel. Learn how to add captions and titles using the Captions panel (Window > Captions). Add a new caption track, select your desired caption format (for example, SRT), then add your subtitles. Easily modify their look in the Essential Graphics panel.
Is it possible to add a new font in Adobe Premiere Pro?
Yes, if you have Adobe Fonts enabled, there are thousands of fonts available. The stopping point is to use custom fonts on your computer, and they’ll show up in Premiere Pro’s font selection.
How do you write or type on Adobe Premiere Pro?
Use the Effect Controls’ keyframes. Start & end points, Opacity 0% (not including beginning point), Middle point, Opacity 100% (Fade-in and out effect).
Why is Premiere Pro not displaying my text?
Ensure your Text layer is positioned above your Video layers in the timeline. And ensure that the color of the text doesn’t blend into the background and is difficult to read.