Exporting a videotape in Adobe Premiere Pro is a pivotal step in videotape editing, transubstantiating your design into a shareable train. Whether you are a freshman or a seasoned editor, learning how to export video in Premiere Pro ensures your content looks professional across platforms. This companion breaks down the process into a simple way, covering settings, formats, and tips to optimize your videotape for quality and performance.
Also Read: How to Fix Adobe Illustrator Crash on Startup
Why Export Video in Premiere Pro Matters
Exporting is the final stage of your editing workflow, where your timeline becomes a polished videotape train. Using Premiere Pro’s robust import tools, you can conform your videotape for specific platforms like YouTube, Instagram, or customer deliveries. Duly exporting videotape in Premiere Pro ensures high quality, manageable train sizes, and compatibility with your intended followership.
Step-by-Step companion to Export Video in Premiere Pro
1. Prepare Your design for Export
Before you Export Video in Premiere Pro, ensure your timeline is ready. Double-check your edits, color grading, audio situations, and transitions. Then’s how to prepare
- Trim Redundant Footage: Remove any gratuitous clips or gaps in the timeline.
- Check Audio: situations to ensure audio is balanced and not peaking.
- Review Resolution: Confirm your sequence settings match your asked affair resolution (e.g., 1080p or 4K).
2. Access the Export Settings
Once your design is polished, it’s time to export. Follow these ways to begin.
- Go to train> Import> Media or use the roadway Ctrl M( Windows) or Cmd M( Mac).
- This opens the Export Settings window, where you can customize your videotape’s appearance.
3. Choose the Right Format
Opting for the correct format is critical when you Export Video in Premiere Pro. The most common format is H.264, which balances quality and train size. Then there’s a quick overview
- H.264: Ideal for online platforms like YouTube and Vimeo due to its compression and contraction.
- QuickTime: Suitable for high-quality labor or when working with specific codecs like ProRes.
- MP4: A universal format for web and mobile playback.
In the Format dropdown, select H.264 for most systems. For professional deliveries, consider QuickTime with a ProRes codec.
4. Select a Preset
Premiere Pro offers presets to simplify exporting. These are acclimatized for platforms like YouTube, Vimeo, or broadcast. To choose a preset
- In the Export Settings window, find the Preset dropdown.
- Select a preset like YouTube 1080p Full HD or Vimeo 4K based on your requirements.
- Presets automatically acclimate settings like bitrate and frame rate, but you can OK – tune them.
5. Customize Video and Audio Settings
For optimal results when you export video in Premiere Pro, tweak these settings.
- Resolution: Match your sequence resolution (e.g., 1920×1080 for Full HD).
- Frame Rate: Use your design’s frame rate (e.g., 24 fps or 30 fps).
- Bitrate Advanced bitrates ameliorate quality but increase train size. For H.264: A bitrate of 10- 20 Mbps works for 1080p; 50- 80 Mbps for 4K.
- Audio: Set to AAC, 320 kbps, and 48 kHz for high-quality sound.
Enable Render at Maximum Depth and Use Maximum Render Quality for sharper illustrations, though this may increase import time.
6. Set the Affair Destination
Choose where to save your videotape
- In the Affair Name field, click the blue textbook to set the train name and position.
- Ensure you have enough storehouse space, especially for high-resolution vids.
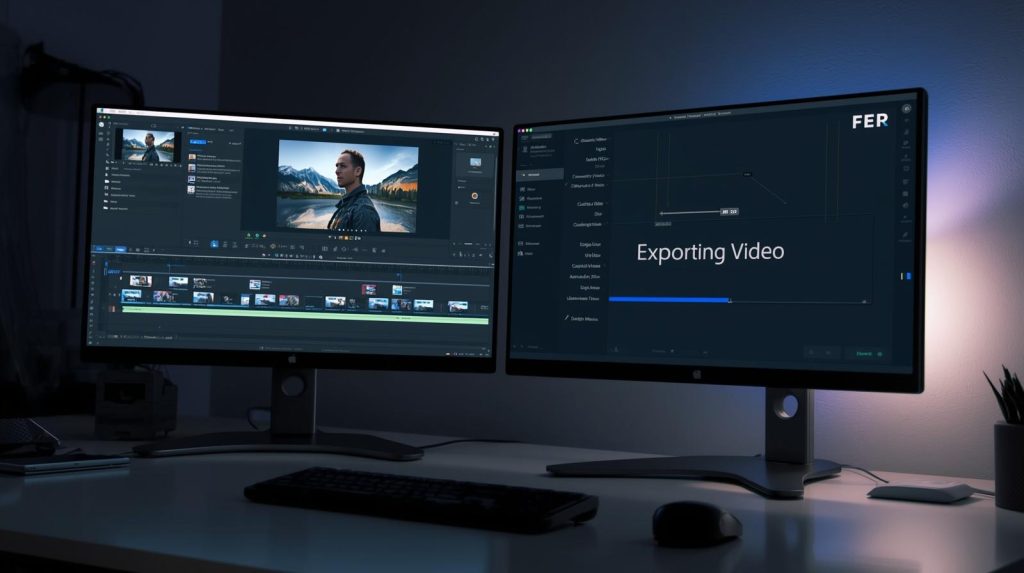
7. Import Your videotape
Once settings are configured, click Import to start rendering. Alternatively, click Queue to shoot the design to Adobe Media Encoder for background processing, allowing you to continue editing. The import time depends on your videotape’s length, resolution, and computer performance.
Tips for Optimizing Your Import in Premiere Pro
- Test Exports: Export a short clip to check quality before rendering the full videotape.
- Use Media Encoder: For large systems, Adobe Media Encoder can batch-import multiple videos efficiently.
- Check Platform Conditions: Each platform, e.g., YouTube, Instagram, has specific resolution and bitrate guidelines. Relate to their help runners for details.
- Archive systems: Save your Premiere Pro design train, which means that you need to re-export later.
Common Export Issues and Fixes
- Large train: Size lower the bitrate or use a further compressed format like H.264.
- Pixelated Affair: Ensure Use Maximum Render Quality is enabled, and check your sequence settings.
- Audio Sync Issues: Corroborate that your audio sample rate matches the import settings( 48 kHz is standard).
Why Premiere Pro Is Ideal for Video Exporting
Adobe Premiere Pro’s import tools are robust, supporting a wide range of formats and customization options. Whether you’re exporting videotape in Premiere Pro for social media, film carnivals, or customer work, its intuitive interface and presets make the process flawless. By understanding formats, bitrates, and platform conditions, you can ensure your vids look professional every time.
Conclusion
If you can Export Video in Premiere Pro is straightforward once you understand the process and settings. From choosing the right format to optimizing bitrate and resolution, this companion covers everything you need to produce high-quality, shareable vids. Exercise this way, trial with settings, and soon you’ll be exporting vids like a pro. For further advanced tips, explore Adobe’s functionality attestation or community tutorials.