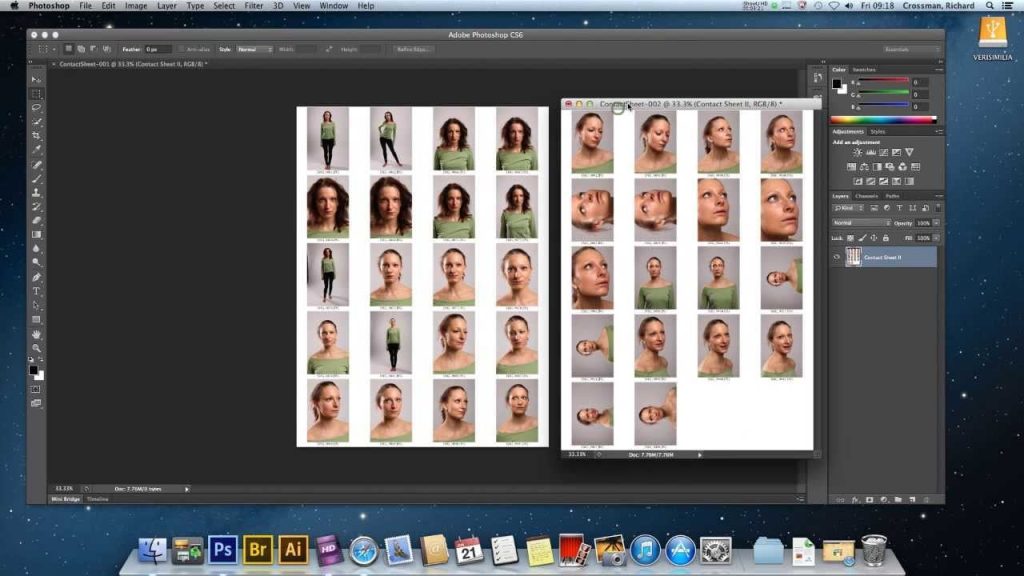
A contact sheet is a collection of thumbnails arranged on a single page, often used to preview and compare multiple images. Contact sheets are useful for photographers, designers, and anyone who works with images. In this post, I will show you how to make contact sheet in Photoshop in a few simple steps.
Read: How To Use Adobe Firefly in Photoshop Easy Guide?
Easy Steps to Make Contact Sheet in Photoshop
Here are some easy steps Make Contact Sheet in Photoshop. follow all the steps to make a contact sheet.
Step 1: Select the Images
The first step is to select the images that you want to include in your contact sheet. You can do this by opening Photoshop and choosing File > Automate > Contact Sheet II. This will open a dialog box where you can specify the source folder, the output folder, and the document settings for your contact sheet. You can also choose how many rows and columns of thumbnails you want, and whether to include the file names or captions.
Step 2: Customize the Layout
The next step is to customize the layout of your contact sheet. You can do this by adjusting the options in the Layout section of the dialog box. You can change the spacing between the thumbnails, the margins of the page, the resolution and mode of the document, and the background color. You can also choose to flatten all layers or keep them separate.
Step 3: Save and Print
The final step is to save and print your contact sheet. You can do this by clicking OK in the dialog box and waiting for Photoshop to generate your contact sheet. You can then save it as a PDF or any other format you prefer, and print it using your printer settings.
Conclusion
Creating a contact sheet in Photoshop is a quick and easy way to preview and compare multiple images. You can use it for various purposes, such as selecting the best shots, creating a portfolio, or sharing your work with others. I hope this post was helpful and you learned something new. If you have any questions or feedback, please leave a comment below. Thank you for reading!


